What are the Basics of Candle Making?
Creating candles as a home craft can be a fun and fulfilling activity. Here are the basics of candle making:
- Gather Materials: Collect the necessary materials, including candle wax (such as soy wax, beeswax, or paraffin wax), candle wicks, containers or moulds, a double boiler or heat-resistant container for melting wax, a thermometer, fragrance oils or essential oils (optional), colourants (optional), a heat-resistant stirring utensil, and adhesive (such as a glue gun or sticky tabs) for securing wicks.
- Prepare the Work Area: Set up your work area on a clean and stable surface. Cover it with newspaper or a protective layer to catch any spills or drips.
- Select Containers or Molds: Decide on the type of containers or moulds you want to use for your candles. Options include glass jars, tins, teacups, or specialized candle moulds. Ensure that your chosen containers are heat-resistant and suitable for candle making.
- Measure Wax: Weigh the amount of candle wax you need according to the size of your containers or moulds. Use a kitchen scale to measure the wax in grams or ounces. Follow the instructions provided with your wax for recommended amounts.
- Melt the Wax: Place the measured wax into a double boiler or a heat-resistant container. Heat it gently over a water bath or in the microwave, following the specific instructions for your chosen wax. Stir occasionally until the wax melts completely. Use a thermometer to monitor the wax temperature.
- Add Fragrance and Color (Optional): If desired, add fragrance oils or essential oils to the melted wax for scent. Be sure to follow the recommended guidelines for the amount of fragrance to use. If you want coloured candles, add appropriate colourants or dyes in small amounts until you achieve the desired shade.
- Prepare Containers or Molds: While the wax is melting, prepare your containers or moulds. If using containers, clean them thoroughly and ensure they are dry. If using moulds, apply a mould release agent or use a mould sealer to prevent leakage.
- Attach Wicks: Attach the wicks to the bottom centre of each container or mould. Use adhesive (such as a glue gun or sticky tabs) to secure the wicks in place. Ensure that the wicks are centred and straight.
- Pour the Wax: Slowly and carefully pour the melted wax into the prepared containers or moulds. Leave a small amount of wax in the melting container for any potential top-ups later.
- Cool and Cure: Allow the candles to cool and cure undisturbed. This process usually takes several hours. It’s recommended to let the candles cure for at least 24-48 hours, or as per the specific instructions provided with your wax.
- Trim Wicks: After the candles have completely cooled and cured, trim the wicks to approximately ¼ inch (0.6 cm) above the wax surface. This helps with better burning and reduces excessive smoke.
- Label and Decorate (Optional): If desired, label your candles with their scent, date of creation, or any other relevant information. You can also decorate the containers with ribbons, charms, or other embellishments for a personalized touch.
Always follow safety guidelines when working with hot wax and open flames. Ensure proper ventilation in your workspace and never leave burning candles unattended. With practice and creativity, you can explore different wax types, fragrances, colours, and decorative techniques to make unique and beautiful homemade candles.
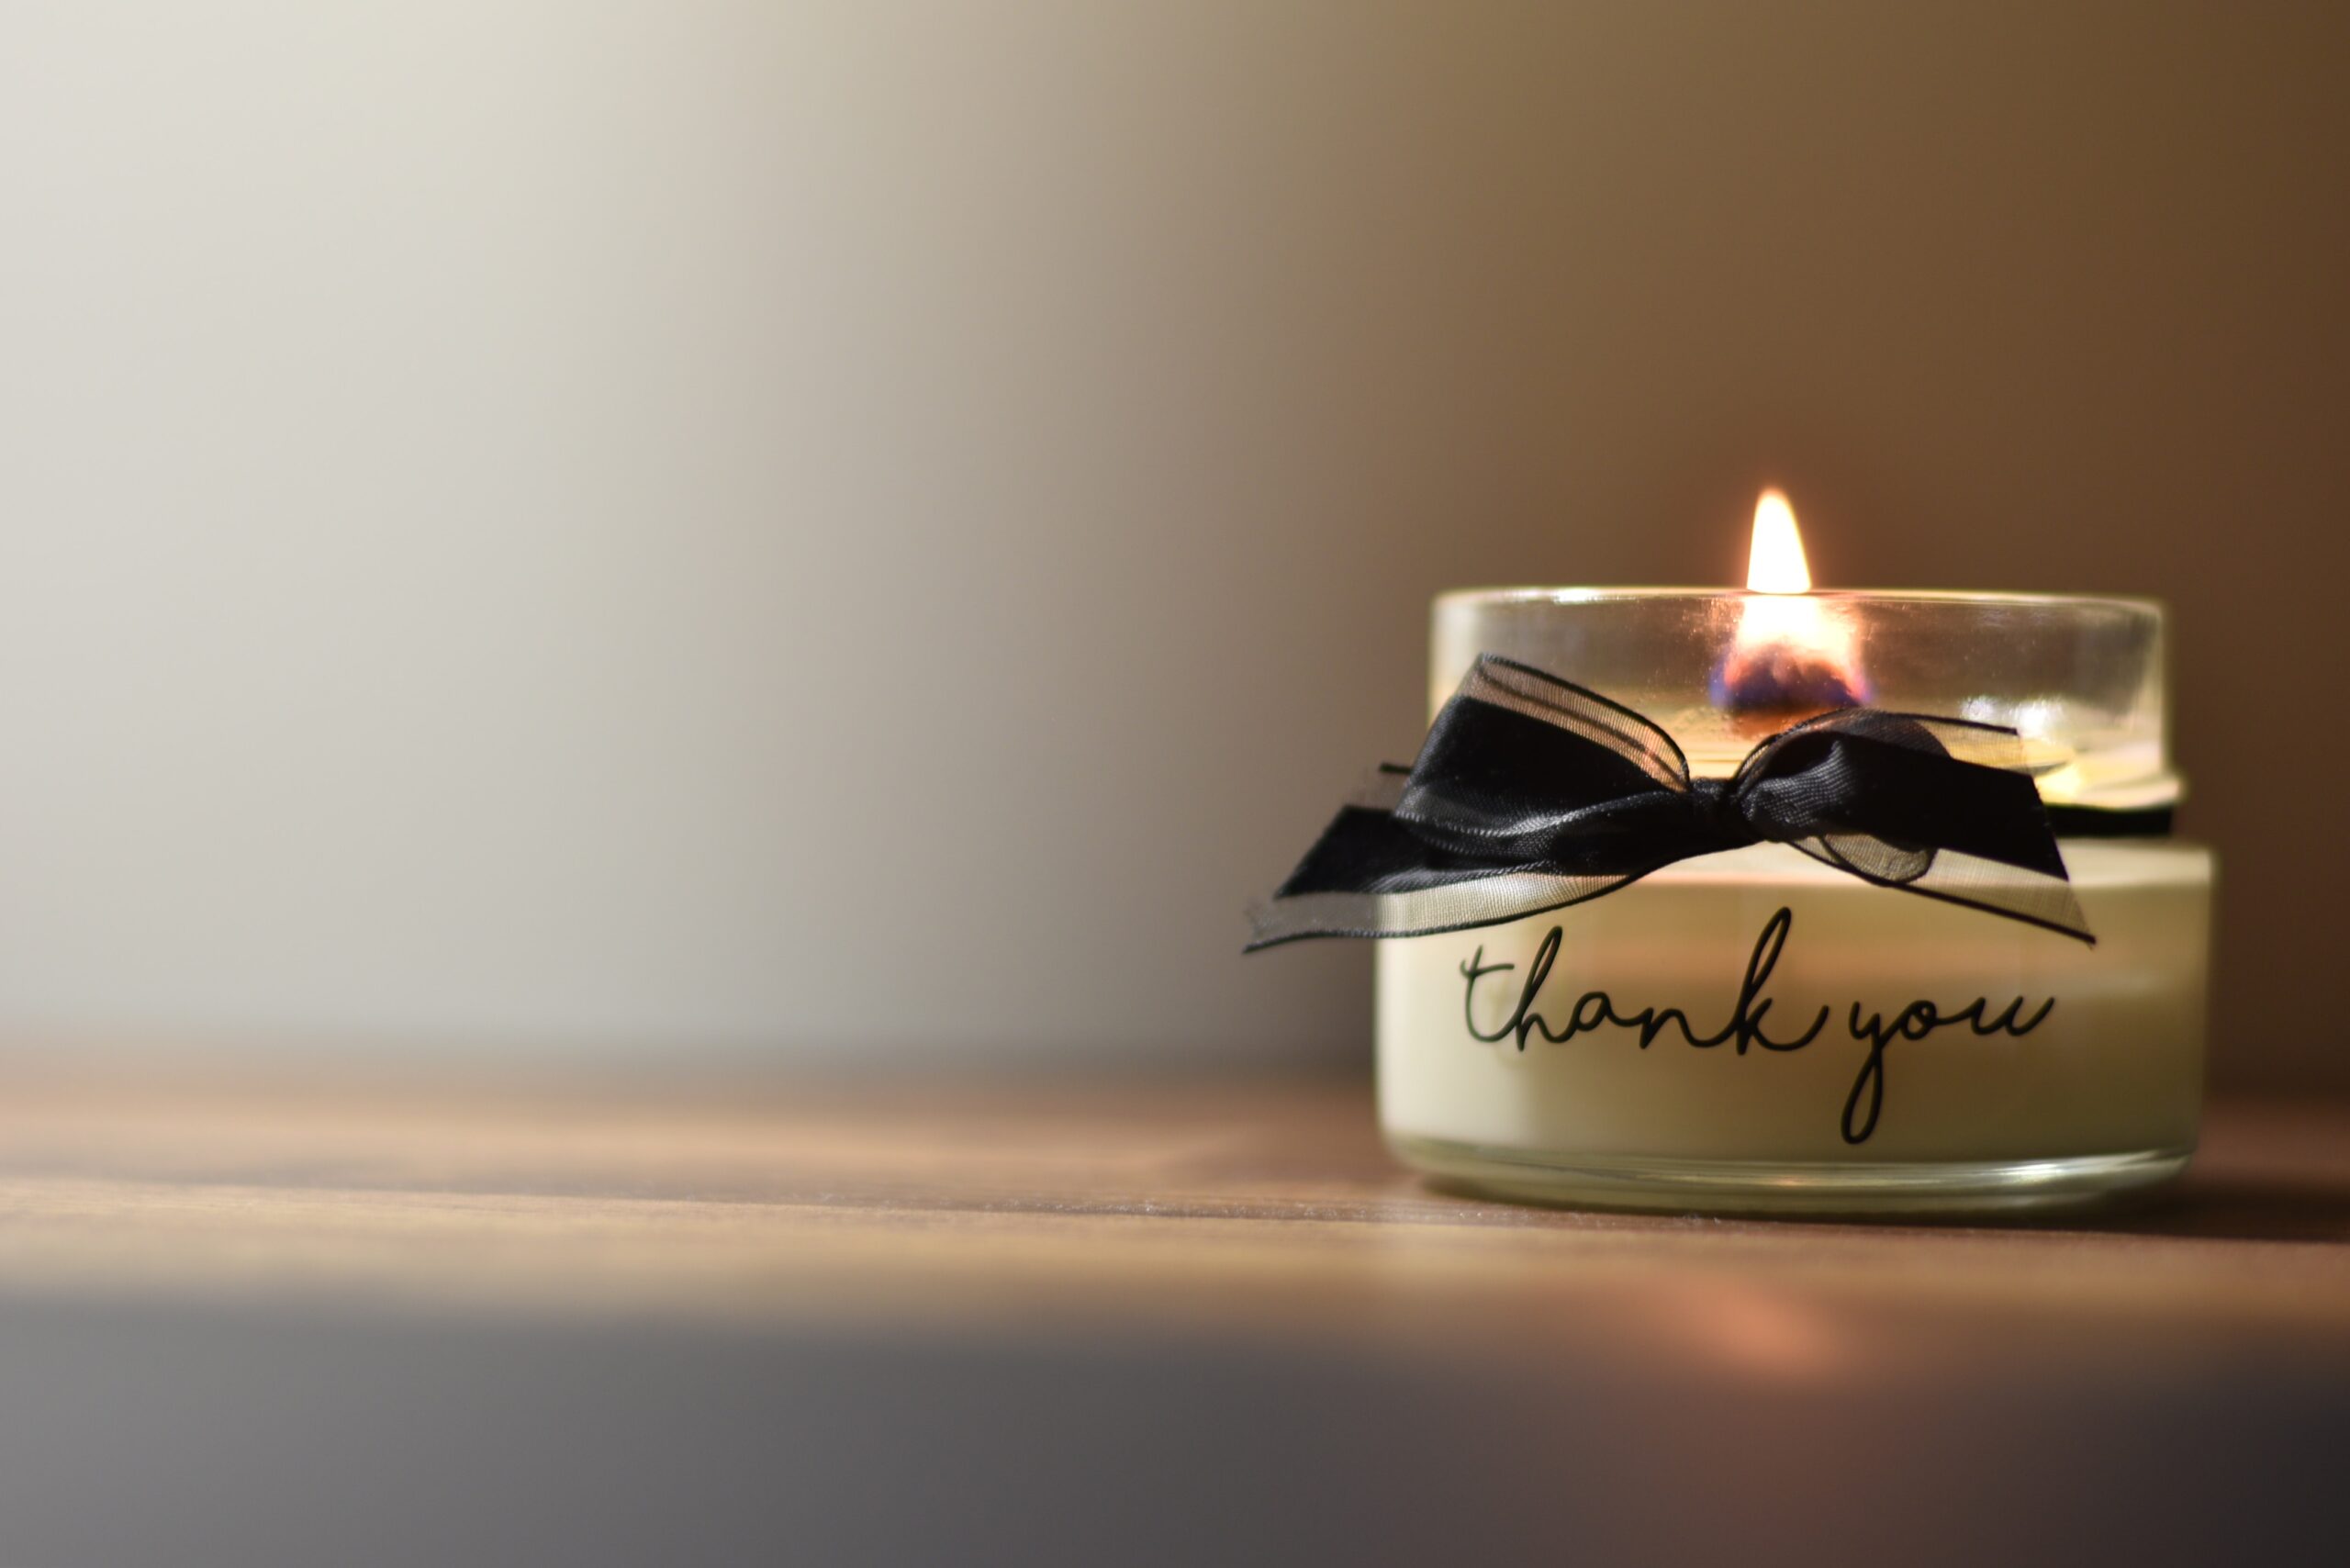
Photo by Daniel Andrade on Unsplash

